매크로 키보드 제작 (버튼 연결)
in Development / Arduino on Arduino, Leonardo, Macro, Keyboard
아두이노를 이용하여 매크로 키보드 제작 (확장편)
버튼을 눌러 타이핑하기
두 번째 프로그램은 택트 스위치를 누르면 “Test.”라고 타이핑되는 프로그램을 제작합니다. 택트 스위치 사용법 및 택트 스위치로부터 신호를 받아 원하는 키보드 출력을 하는 방법을 알 수 있습니다.
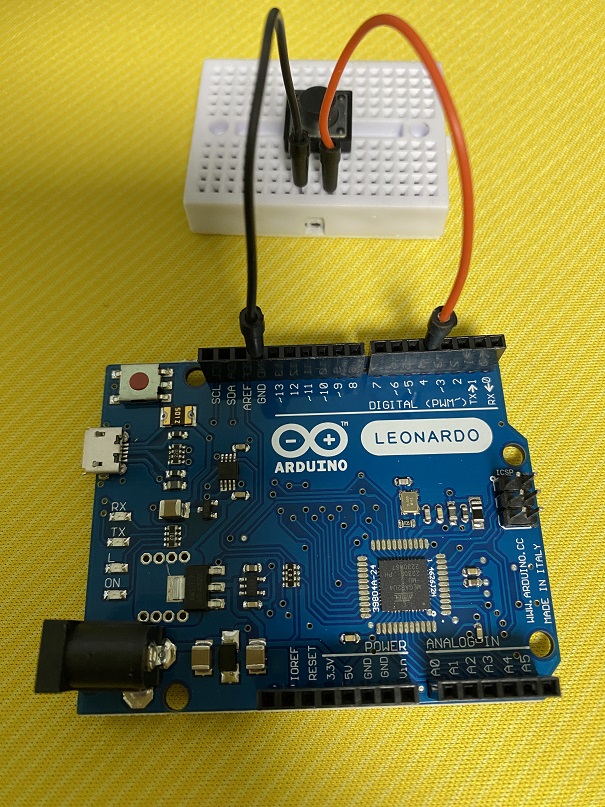
회로도
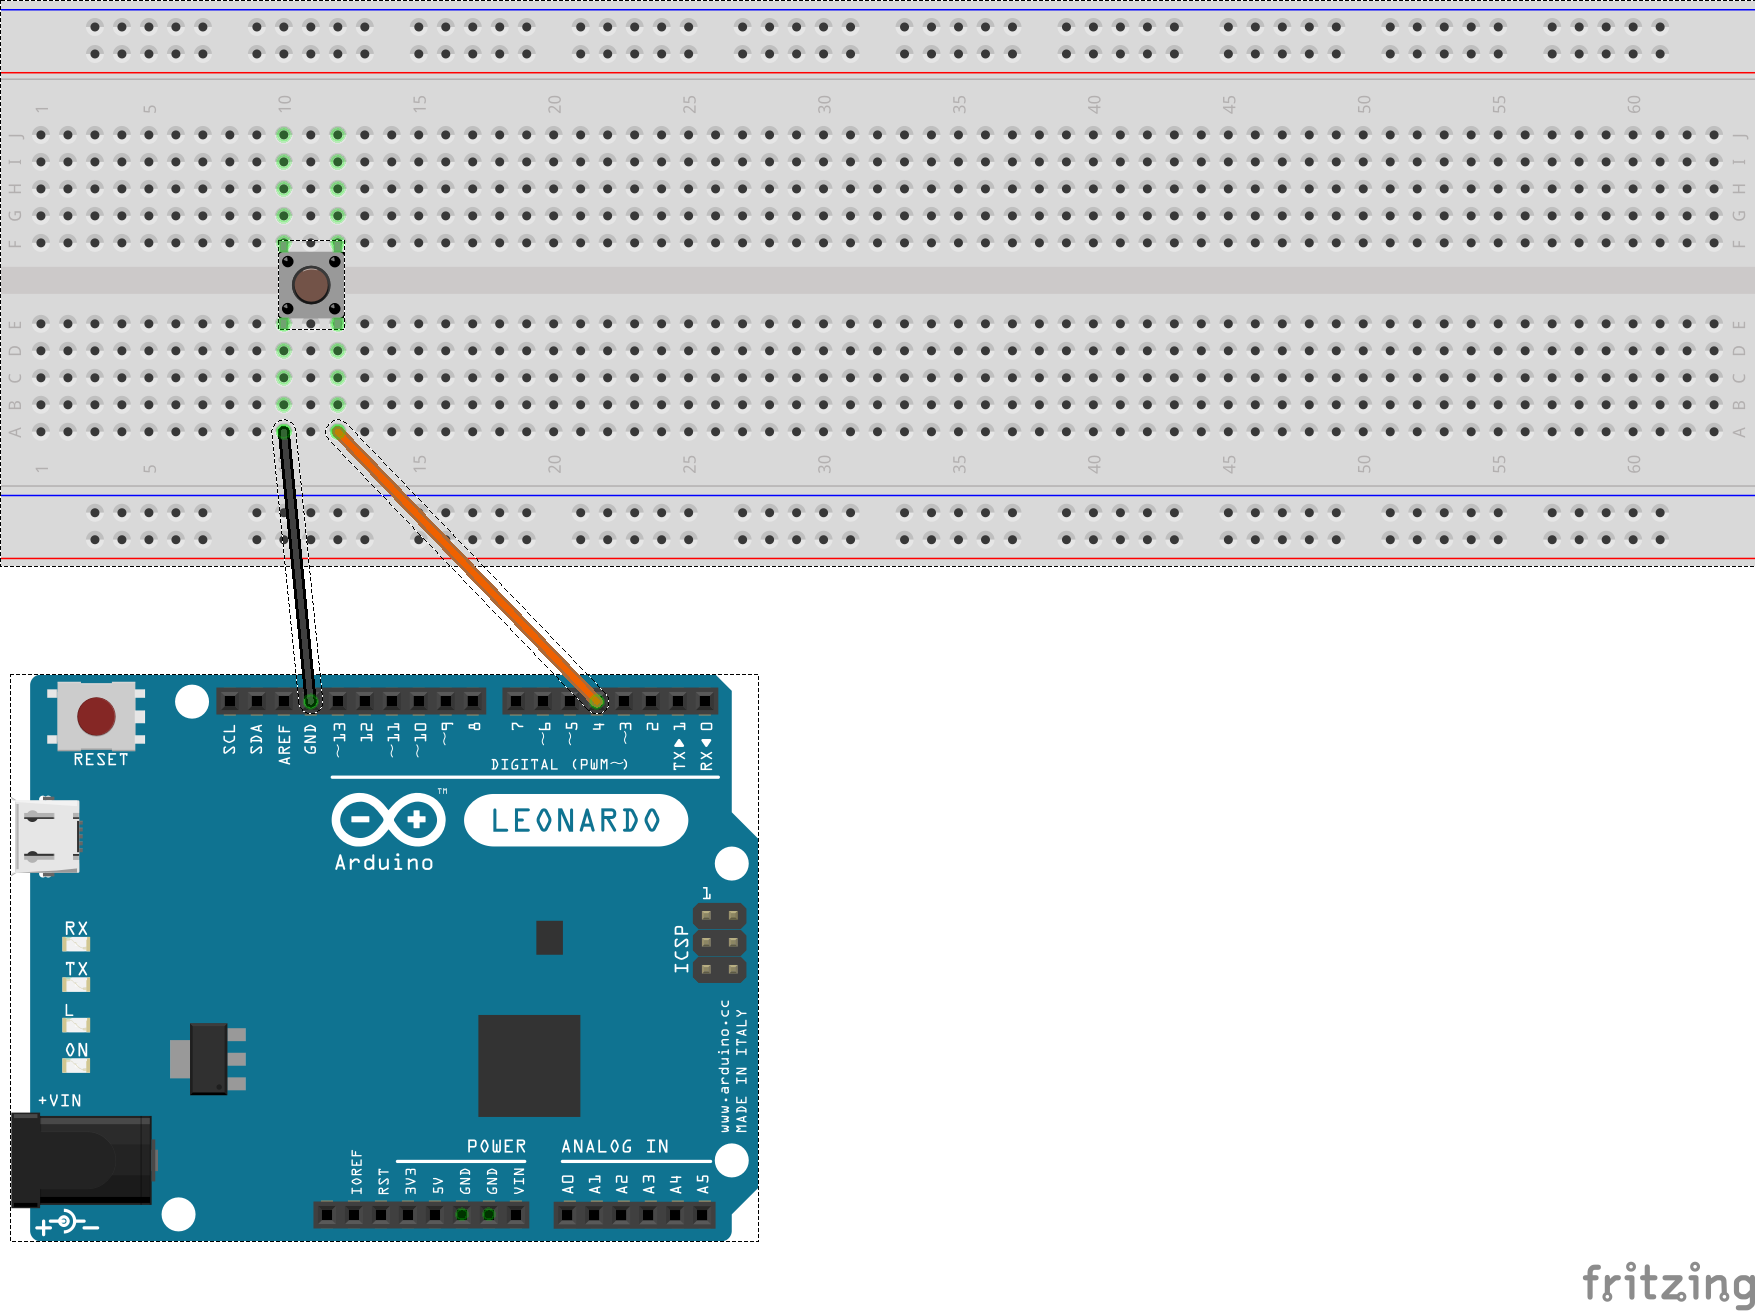
회로도와 같이 4번 핀과 GND에 택트 스위치를 연결합니다.
아래와 같이 코딩 후 컴파일 및 업로드한다. 택트 스위치를 눌러 타이핑 되는지 확인합니다.
※ 업로드 시 자동 업로드가 되지 않으면 업로드 시도를 할 때 리셋 버튼을 동시에 눌러주면 정상적으로 업로드가 됩니다.
Source code
/*
  Macro keyboard ex02

  버튼을 누르면 0.5초 간격으로 "Test." 키 타이핑하기
*/

#include "Keyboard.h" // 키보드 라이브러리

const int buttonPin = 4;  // input pin for pushbutton

void setup() {
  pinMode(buttonPin, INPUT_PULLUP);
  Keyboard.begin();
}

void loop() {
  int buttonState = digitalRead(buttonPin);
  if (buttonState == LOW)
  {
    Typing();
    delay(500);
  }
}

void Typing()
{
  // "Test."
  Keyboard.press('T');
  Keyboard.release('T');
  Keyboard.press('e');
  Keyboard.release('e');
  Keyboard.press('s');
  Keyboard.release('s');
  Keyboard.press('t');
  Keyboard.release('t');
  Keyboard.press('.');
  Keyboard.release('.');
}